Capturing Feedback at Every Stage of the User Journey
Learn where and when to collect user feedback throughout the customer lifecycle—from onboarding through churn risk—and how to configure embeddable widgets for each critical touchpoint.
Summary
Collecting user feedback at the right moments transforms scattered complaints into actionable product insights. This guide maps the five critical touchpoints in the user journey—onboarding, feature discovery, friction points, churn risk, and power user engagement—and shows how to configure feedback widgets that capture context-rich data at each stage. By matching your feedback collection strategy to user intent, you'll dramatically increase response rates and gather the specific insights needed to improve retention and product-market fit.
Why Timing Matters More Than Volume
Most products collect feedback wrong. They place a single "Send Feedback" button in the footer and hope users find it. The result? Low response rates and feedback that lacks context.
The truth is that when you ask for feedback determines what you'll learn:
- Ask during frustration, and you'll hear about bugs
- Ask during success, and you'll hear about missing features
- Ask at the wrong time, and you'll hear nothing at all
Strategic feedback collection means placing the right widget configuration at each stage of the user journey. Let's map out exactly where those moments are.
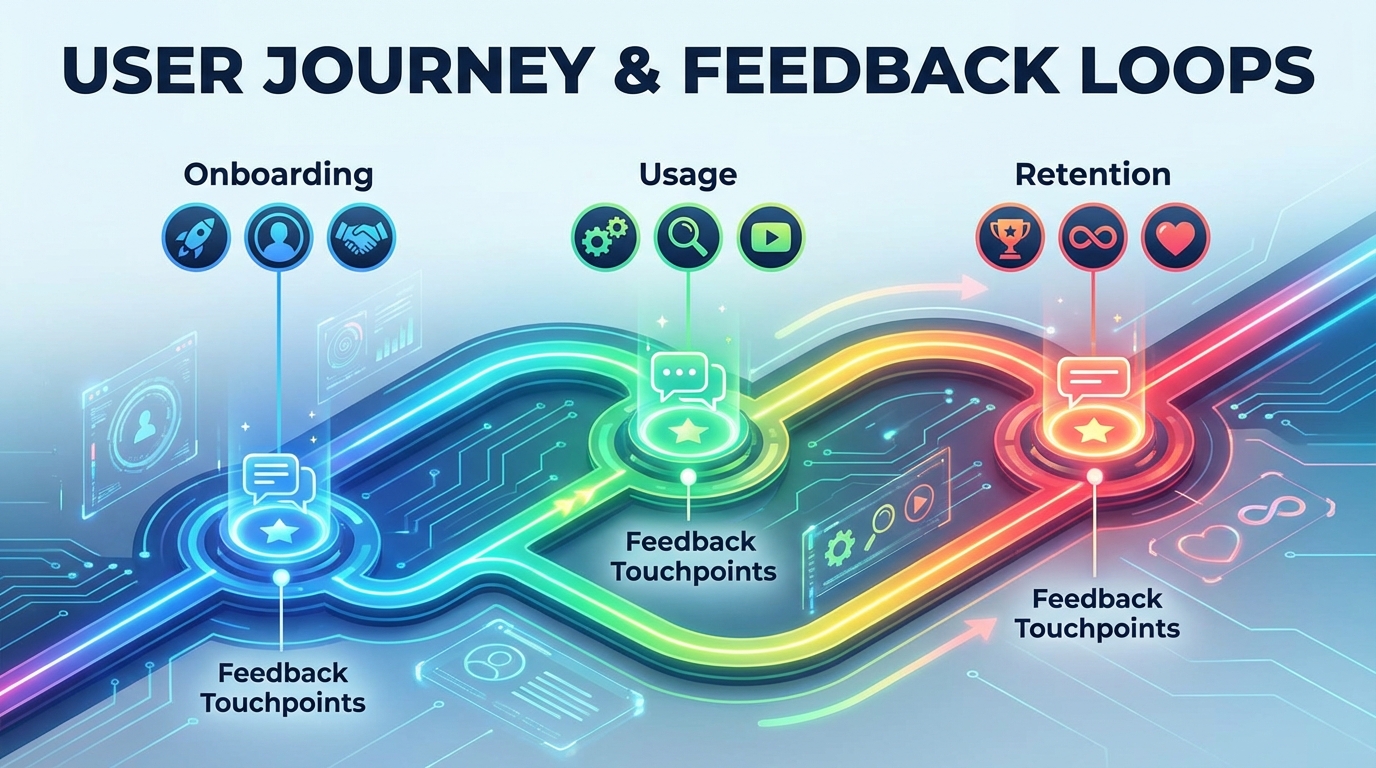
The Five Critical Feedback Touchpoints
Think of your user journey as a series of emotional states, each with different feedback potential:
┌─────────────────────────────────────────────────────────────────────┐
│                        USER JOURNEY MAP                              │
├─────────────────────────────────────────────────────────────────────┤
│                                                                      │
│  ┌──────────┐    ┌──────────┐    ┌──────────┐    ┌──────────┐      │
│  │ ONBOARD  │───►│ DISCOVER │───►│ FRICTION │───►│  CHURN   │      │
│  │          │    │          │    │          │    │   RISK   │      │
│  └──────────┘    └──────────┘    └──────────┘    └──────────┘      │
│       │               │               │               │             │
│       ▼               ▼               ▼               ▼             │
│  ┌──────────┐    ┌──────────┐    ┌──────────┐    ┌──────────┐      │
│  │ Missing  │    │ Feature  │    │   Bug    │    │  Exit    │      │
│  │ Features │    │ Requests │    │ Reports  │    │ Surveys  │      │
│  └──────────┘    └──────────┘    └──────────┘    └──────────┘      │
│                                                                      │
│                    ┌──────────────────────────────┐                 │
│                    │        POWER USERS           │                 │
│                    │   Advanced Feature Requests  │                 │
│                    └──────────────────────────────┘                 │
│                                                                      │
└─────────────────────────────────────────────────────────────────────┘
1. Onboarding: First Impressions Feedback
When it happens: First 7 days of usage, during initial setup, after completing the first core action.
What users are thinking: "Can this product do what I need?" and "Is anything obviously missing?"
Feedback you'll capture:
- Gaps between expectations and reality
- Missing features that competitors have
- Confusing UI patterns
- Incomplete documentation
Widget configuration for onboarding:
Enable these tabs for onboarding touchpoints:
- Feature Requests (primary)
- Roadmap (so users can see what's coming)
Disable:
- Bug Reports (too early for meaningful bugs)
- Changelog (irrelevant to new users)
Best placement locations:
- End of onboarding wizard
- After first successful action (first project created, first integration connected)
- In empty states ("No data yet. Missing a feature? Let us know")
Trigger strategy: Show the feedback prompt after users complete their first meaningful action. This captures users while they're still evaluating your product against alternatives.
2. Feature Discovery: Enhancement Ideas
When it happens: Users exploring beyond core functionality, attempting advanced workflows, hitting feature limits.
What users are thinking: "I wish this could also do X" and "This is almost perfect, but..."
Feedback you'll capture:
- Feature enhancement requests
- Integration requests
- Workflow optimization ideas
- Use cases you haven't considered
Widget configuration for feature discovery:
Enable these tabs:
- Feature Requests (primary)
- Roadmap (validate if their idea is already planned)
- Changelog (see recent improvements)
Consider enabling:
- Bug Reports (experienced users notice edge cases)
Best placement locations:
- Settings and configuration pages
- Advanced feature sections
- Integration marketplaces
- Export and API documentation pages
Pro tip: Enable the conversational AI chat option here. Users exploring advanced features often have complex requests that benefit from natural dialogue. The AI can help them articulate exactly what they need.
3. Friction Points: Bug Reports and UX Issues
When it happens: Error states, failed actions, confusing interfaces, performance issues.
What users are thinking: "This is broken" or "Why doesn't this work the way I expect?"
Feedback you'll capture:
- Reproducible bugs with context
- Environment-specific issues
- UX confusion points
- Performance problems
Widget configuration for friction points:
Enable these tabs:
- Bug Reports (primary, with structured fields)
- Feature Requests (sometimes bugs are actually feature gaps)
Disable:
- Roadmap (users in frustration don't want to browse)
- Changelog (irrelevant during errors)
Best placement locations:
- Error pages (500, 404, validation errors)
- Failed action modals
- Timeout states
- Support/help pages
Critical implementation detail: When users submit bug reports from error states, automatically capture:
- The error message they saw
- Their browser and OS
- The action they were attempting
- Recent actions leading to the error
This context transforms vague "it doesn't work" reports into actionable debugging information.
4. Churn Risk: Exit Surveys and Retention
When it happens: Account downgrade, subscription cancellation, extended inactivity, payment failures.
What users are thinking: "This isn't worth it anymore" or "I found something better."
Feedback you'll capture:
- Reasons for leaving
- Competitor comparisons
- Pricing concerns
- Missing must-have features
Widget configuration for churn touchpoints:
This requires a different approach. Consider a dedicated exit survey rather than the standard widget, but include:
- Feature Requests (what would make them stay?)
- Bug Reports (was a bug the final straw?)
Best placement locations:
- Cancellation flow (before confirming)
- Downgrade confirmation
- Re-engagement emails for inactive users
- Payment failure recovery pages
Question types to include:
- Primary reason for leaving (multiple choice)
- What would bring you back? (open text)
- Are you switching to a competitor? (optional, with text field)
- Would you recommend us to others? (NPS-style)
Timing matters: Present the exit survey as part of the cancellation flow, not after. Once they've cancelled, response rates drop dramatically.
5. Power Users: Advanced Feature Requests
When it happens: High-usage patterns, API usage, team accounts, enterprise features.
What users are thinking: "I need this to scale" and "We've outgrown the current limits."
Feedback you'll capture:
- Enterprise feature requirements
- API enhancements
- Performance at scale concerns
- Advanced integration needs
Widget configuration for power users:
Enable all tabs:
- Feature Requests (their ideas carry extra weight)
- Bug Reports (they'll find edge cases)
- Roadmap (they want to influence it)
- Changelog (they track your progress closely)
Best placement locations:
- Admin and team management pages
- Usage dashboards
- API documentation
- Billing and plan comparison pages
Special treatment: Consider adding a "Priority feedback" flag or direct line to your product team for users above certain usage thresholds. Their feedback often represents what hundreds of smaller users need but can't articulate.
Configuring Widgets for Each Touchpoint
With a multi-tab widget system, you can customize what users see based on where they are in your application. Here's a practical configuration matrix:
| Touchpoint | Feature Requests | Bug Reports | Roadmap | Changelog | AI Chat |
|---|---|---|---|---|---|
| Onboarding | Enabled | Disabled | Enabled | Disabled | Optional |
| Feature Discovery | Enabled | Optional | Enabled | Enabled | Enabled |
| Friction Points | Optional | Enabled | Disabled | Disabled | Enabled |
| Churn Risk | Enabled | Enabled | Disabled | Disabled | Enabled |
| Power Users | Enabled | Enabled | Enabled | Enabled | Enabled |
Widget Placement Best Practices
Visibility without intrusion:
- Use a floating button that's visible but not blocking content
- Position in the lower-right corner (standard convention)
- Allow users to collapse or hide the widget
Context preservation:
- Pass the current page URL to the widget
- Include user metadata (plan type, account age, recent actions)
- For bug reports, auto-populate environment details
Response optimization:
- Keep initial forms short (2-3 fields maximum)
- Make email optional but explain why it's valuable
- Show estimated response time to set expectations
The Feedback Loop: From Collection to Action
Collecting feedback is only half the equation. Users need to see that their input matters:
1. Immediate Acknowledgment
When users submit feedback, they should see:
- Confirmation that their submission was received
- A reference number or link to track status
- Expected timeline for review
2. Public Roadmap Updates
Connect your feedback system to your public roadmap:
- Feature requests can be upvoted by others
- Status updates (Under Review, Planned, In Progress, Shipped)
- Comments from your team
3. Changelog Integration
When you ship features that users requested:
- Reference the original request
- Thank contributors
- Close the feedback loop
4. Re-engagement Notifications
When you ship something a user requested:
- Send a personalized notification
- Include a link to the changelog entry
- Ask for feedback on the implementation
Measuring Feedback Collection Effectiveness
Track these metrics to optimize your feedback strategy:
Collection metrics:
- Submission rate per touchpoint
- Completion rate (started vs. submitted)
- Widget engagement rate (opens vs. submissions)
Quality metrics:
- Actionable feedback percentage
- Duplicate rate
- Time to first response
Impact metrics:
- Features shipped from user feedback
- Bug resolution time for reported issues
- NPS correlation with feedback response
Common Mistakes to Avoid
1. Asking Too Much, Too Soon
Don't interrupt users mid-task with feedback requests. Wait for natural pause points.
2. Ignoring Context
A bug report without context is nearly useless. Ensure your widget captures or allows users to provide relevant environmental details.
3. Silent Treatment
The fastest way to kill feedback participation is to never respond. Even a simple "We're looking into this" builds trust.
4. One-Size-Fits-All
Different user segments need different feedback experiences. Power users want depth; new users want simplicity.
5. Feedback Without Closure
Users who submit feedback and never hear back become disengaged. Close the loop, even if the answer is "not right now."
Implementation Checklist
Ready to implement journey-based feedback collection? Here's your action plan:
- Map your user journey stages
- Identify the key pages/states for each touchpoint
- Configure widget tabs for each touchpoint type
- Set up context passing (page URL, user metadata, error details)
- Create feedback response templates for your team
- Connect feedback system to roadmap/changelog
- Set up notification flows for shipped features
- Define metrics and tracking
- Create weekly feedback review process
Key Takeaways
-
Match feedback collection to user emotional state - Frustrated users report bugs; exploring users request features.
-
Configure different widget experiences for different touchpoints - Enable only the relevant tabs for each context.
-
Capture context automatically - Page URL, user metadata, and error details make feedback actionable.
-
Close the feedback loop - Connect submissions to your roadmap and notify users when you ship their ideas.
-
Measure and iterate - Track submission rates per touchpoint and optimize placement and configuration.
The most successful products don't just collect feedback—they build feedback into every stage of the user experience. By strategically placing and configuring your feedback widgets, you transform passive users into active product collaborators.
Ready to implement journey-based feedback collection? UserVibesOS provides configurable multi-tab widgets with AI-powered chat, roadmap integration, and changelog publishing—everything you need to capture feedback at every stage of the user journey.
Related Articles
Feedback-Driven A/B Testing: Qualitative Meets Quantitative
Combine user feedback with A/B test metrics to understand not just what wins, but why. Make better decisions with complete experiment context.
Feedback for Developer Tools: Unique Challenges of Collecting from Technical Users
Developers hate surveys but love fixing problems. Learn how to collect actionable feedback from technical users through GitHub issues, API logs, and community channels.
Feedback During Incidents: Turning Downtime and Outages into Improvement Opportunities
How to collect and use feedback during service disruptions. Balance communication, gather impact data, and emerge with stronger customer relationships and clearer priorities.
Written by UserVibes Team
Published on January 9, 2026