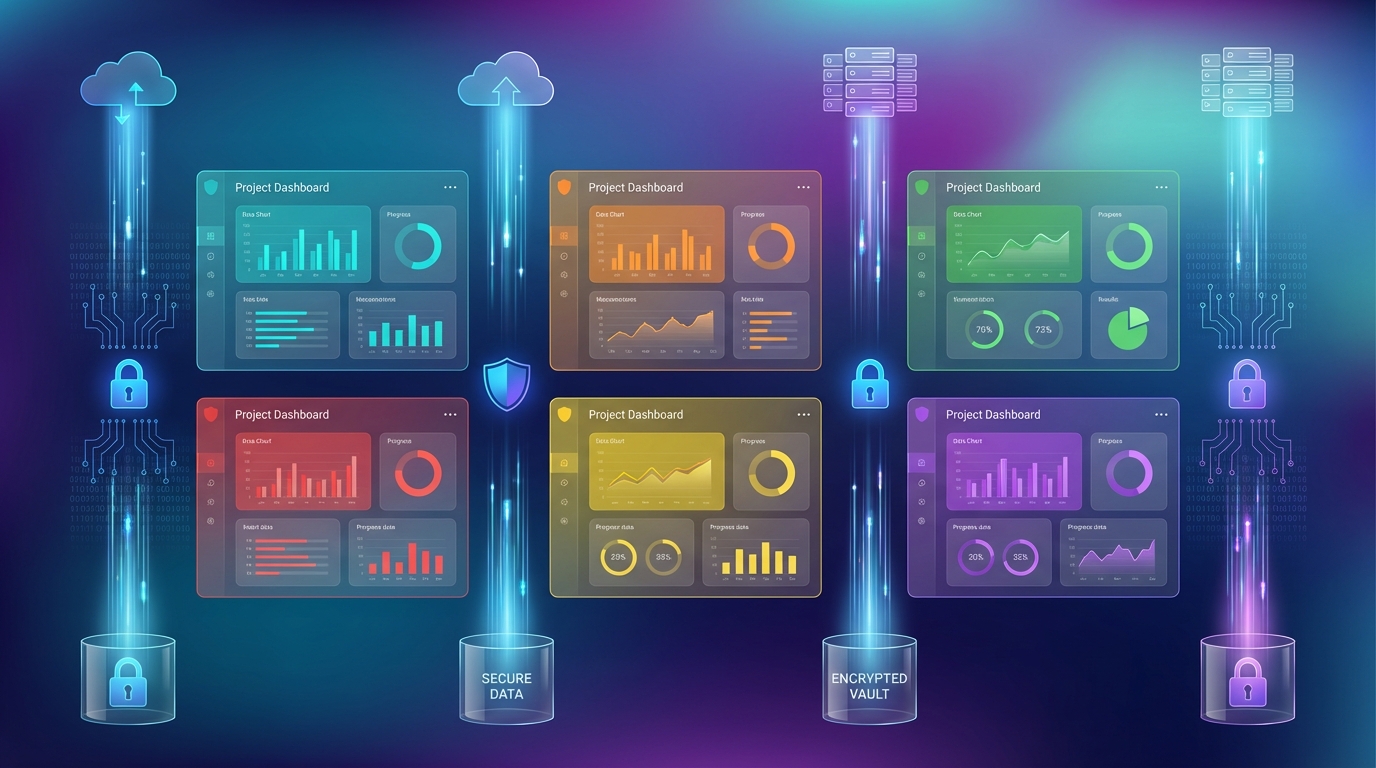
Multi-Project Feedback Management: Isolating Data Across Products and Teams
Learn how agencies and multi-product companies securely manage user feedback across projects with proper multi-tenant data isolation, API key management, and team access controls.
Summary
Managing feedback across multiple products requires more than separate folders. True multi-project feedback management demands cryptographic data isolation, project-scoped API keys, and secure team access controls. This guide covers the architecture and best practices for agencies and multi-product companies running feedback collection at scale.
The Multi-Project Challenge
When your organization manages multiple products, clients, or brands, feedback silos become critical. Consider these scenarios:
- Agencies managing feedback widgets for 10+ client websites
- SaaS companies with separate feedback streams for web, mobile, and API products
- Enterprise teams requiring isolated feedback channels for different business units
- White-label providers offering branded feedback collection to customers
Each scenario demands that feedback data never leak between projects. A client's feature requests must never appear in another client's dashboard. A mobile app's bug reports must stay separate from web app feedback.
Architecture Overview: True Multi-Tenant Isolation
Multi-tenant architecture isn't just about database tables with a projectId column. True isolation requires defense at every layer.
The Three-Layer Isolation Model
Layer 1: API Key Binding
   Public Keys (PK) are cryptographically bound to specific projects

Layer 2: JWT Signature Verification
   Each project has a unique secret key for signing tokens

Layer 3: Database Query Scoping
   All queries include projectId filtering at the database level
How Project Isolation Works
When a user submits feedback through your widget, here's what happens:
- Widget loads with project-specific Public Key (PK)
- Request arrives with
projectId+apiKeyheaders - Middleware validates the PK is bound to the claimed project
- JWT verification (if enabled) uses project's unique secret
- Data is stored with project scope in the database
- Queries filter by projectId on every read
This means an attacker cannot use one project's API key to access another project's data, even if they somehow obtain both keys.
API Key Architecture: Public vs Secret Keys
Understanding the two-key system is essential for secure multi-project management.
Public Keys (PK): Client-Facing Identifiers
Public Keys are designed for browser environments:
// Safe to embed in client-side code
const widgetConfig = {
  projectId: "proj_abc123",
  apiKey: "pk_live_a1b2c3d4e5f6..."
};
Public Key properties:
- Prefix:
pk_live_ - Bound to a specific project at creation time
- Requires origin whitelisting (1-5 allowed domains)
- Safe to expose in JavaScript bundles
- Cannot be used for server-side operations
Secret Keys (SK): Server-Only Credentials
Secret Keys never leave your server:
// NEVER expose in client code
// Used server-side only for JWT signing
const secretKey = process.env.USERVIBES_SECRET_KEY;
// "sk_live_x9y8z7..."
Secret Key properties:
- Prefix:
sk_live_ - Used exclusively for JWT token generation
- Must be stored in environment variables
- Enables Tier 2 authenticated feedback
- Cryptographically signs user identity claims
Project-Scoped Key Binding
The security model ensures keys cannot be reused across projects:
// When creating a Public Key, it's bound to the project
createPublicKey({
  name: "Production Widget Key",
  projectId: "proj_abc123",  // Cryptographic binding
  allowedOrigins: ["https://myapp.com", "https://www.myapp.com"]
});
If someone tries to use this key with a different project ID, the request is rejected:
Request: projectId=proj_xyz789, apiKey=pk_live_...
Result: "API key not authorized for this project"
Security Event: tenant_isolation_attack (logged)
Setting Up Multiple Projects
Step 1: Create Projects with Unique Identities
Each project represents a distinct feedback collection point:
// Project 1: Main Web App
{
  name: "Acme Web Dashboard",
  slug: "acme-web",
  branding: {
    primaryColor: "#6366f1",
    logoUrl: "https://cdn.acme.com/logo-web.png"
  }
}

// Project 2: Mobile App
{
  name: "Acme Mobile App",
  slug: "acme-mobile",
  branding: {
    primaryColor: "#10b981",
    logoUrl: "https://cdn.acme.com/logo-mobile.png"
  }
}

// Project 3: API Documentation
{
  name: "Acme Developer Portal",
  slug: "acme-devs",
  branding: {
    primaryColor: "#f59e0b",
    logoUrl: "https://cdn.acme.com/logo-dev.png"
  }
}
Step 2: Generate Project-Specific API Keys
For each project, create dedicated keys:
- Public Key for the widget embed
- Secret Key for JWT authentication (Tier 2)
- Configure origin restrictions per key
// For acme-web project
const webPublicKey = await createPublicKey({
  name: "Acme Web - Production",
  projectId: acmeWebProjectId,
  allowedOrigins: [
    "https://app.acme.com",
    "https://staging.acme.com"
  ]
});

// For acme-mobile project
const mobilePublicKey = await createPublicKey({
  name: "Acme Mobile - Production",
  projectId: acmeMobileProjectId,
  allowedOrigins: [
    "https://m.acme.com"  // Mobile web wrapper
  ]
});
Step 3: Configure Per-Project Settings
Each project can have unique configurations:
{
  settings: {
    allowAnonymous: false,     // Require user identification
    requireEmail: true,        // Collect email addresses
    moderationEnabled: true,   // Review before publishing
    votingEnabled: true,       // Allow community voting
    commentsEnabled: true      // Enable discussion threads
  },
  widgetTabs: {
    featureRequest: { enabled: true, order: 0 },
    bugReports: { enabled: true, order: 1 },
    roadmap: { enabled: true, order: 2 },
    changelog: { enabled: false, order: 3 }  // Hide for this project
  }
}
Origin Restrictions: Preventing Widget Hijacking
Origin restrictions ensure your widget only runs on authorized domains.
Why Origins Matter
Without origin restrictions, anyone could embed your widget on their site:
<!-- Malicious site embedding your widget -->
<iframe src="https://widget.uservibes.com/embed?projectId=YOUR_ID&apiKey=YOUR_KEY">
With origin restrictions, this fails:
Request Origin: https://malicious-site.com
Allowed Origins: ["https://app.acme.com"]
Result: 403 Forbidden - Origin not allowed
Configuring Allowed Origins
Best practices for origin configuration:
const allowedOrigins = [
  // Production domain
  "https://app.acme.com",

  // Staging for testing
  "https://staging.acme.com",

  // Local development (if needed)
  "http://localhost:3000",

  // Wildcard for subdomains (use carefully)
  "https://*.acme.com"
];
Important: Wildcard patterns (*.acme.com) should be used cautiously. They allow any subdomain, which could be exploited if subdomain takeover is possible.
Tier 2 Authentication: JWT-Based User Identity
For authenticated feedback, each project uses its own JWT secret.
How JWT Isolation Works
Project A: Secret Key = sk_live_aaa...
Project B: Secret Key = sk_live_bbb...

User submits to Project A with JWT signed by sk_live_bbb
→ Signature verification fails
→ Request rejected
→ Attack prevented
Implementing Server-Side Token Generation
Your backend generates tokens for authenticated users:
// Server-side only (Node.js, Python, etc.)
import jwt from 'jsonwebtoken';

function generateUserVibesToken(user, projectSecretKey) {
  return jwt.sign(
    {
      user: {
        id: user.id,
        email: user.email,
        name: user.displayName
      },
      jti: crypto.randomUUID(),  // Prevents replay attacks
      iat: Math.floor(Date.now() / 1000),
      exp: Math.floor(Date.now() / 1000) + 300  // 5 min expiry
    },
    projectSecretKey,
    { algorithm: 'HS256' }
  );
}

// Generate token for Project A users
const tokenA = generateUserVibesToken(user, process.env.PROJECT_A_SECRET);

// Generate token for Project B users
const tokenB = generateUserVibesToken(user, process.env.PROJECT_B_SECRET);
Widget Configuration with JWT
// Client-side widget initialization
window.UserVibesWidget.init({
  projectId: "proj_abc123",
  apiKey: "pk_live_...",
  jwt: await fetchTokenFromYourBackend()  // Server-generated
});
Agency Use Case: Managing Client Feedback
For agencies managing multiple client projects, organization is key.
Recommended Project Structure
Agency Dashboard
├── Client: TechStartup Inc
│   ├── Project: Main Product
│   │   ├── PK: pk_live_tech_main...
│   │   └── SK: sk_live_tech_main...
│   └── Project: Mobile App
│       ├── PK: pk_live_tech_mobile...
│       └── SK: sk_live_tech_mobile...
│
├── Client: RetailCo
│   ├── Project: E-commerce Site
│   │   ├── PK: pk_live_retail_web...
│   │   └── SK: sk_live_retail_web...
│   └── Project: Admin Portal
│       ├── PK: pk_live_retail_admin...
│       └── SK: sk_live_retail_admin...
│
└── Client: HealthApp
    └── Project: Patient Portal
        ├── PK: pk_live_health_patient...
        └── SK: sk_live_health_patient...
Client Branding Per Project
Each project maintains independent branding:
// TechStartup project
{
  branding: {
    primaryColor: "#3b82f6",  // Blue theme
    logoUrl: "https://cdn.techstartup.com/logo.svg",
    fontFamily: "Inter"
  }
}

// RetailCo project
{
  branding: {
    primaryColor: "#dc2626",  // Red theme
    logoUrl: "https://cdn.retailco.com/logo.svg",
    fontFamily: "Roboto"
  }
}
Security Best Practices
1. Rotate Secret Keys Regularly
Schedule secret key rotation every 90 days:
// Create new secret key
const newSecretKey = await createSecretKey({
  name: "Production SK - Q2 2026"
});

// Update project to use new key
await updateJwtSettings({
  projectId: projectId,
  jwtSecretKeyId: newSecretKey._id
});

// Revoke old key after migration period
await revokeApiKey({ keyId: oldSecretKeyId });
2. Use Environment-Specific Keys
Never share keys between environments:
# .env.production
USERVIBES_PROJECT_ID=proj_prod_abc123
USERVIBES_PUBLIC_KEY=pk_live_prod...
USERVIBES_SECRET_KEY=sk_live_prod...

# .env.staging
USERVIBES_PROJECT_ID=proj_staging_xyz789
USERVIBES_PUBLIC_KEY=pk_live_staging...
USERVIBES_SECRET_KEY=sk_live_staging...
3. Monitor Security Events
Watch for these signals in your logs:
tenant_isolation_attack: Cross-project access attemptinvalid_api_key: Unknown or malformed keysorigin_mismatch: Widget loaded from unauthorized domainjwt_validation_failed: Token signature verification failed
4. Implement Rate Limiting
Each project should have request limits:
{
  settings: {
    rateLimit: {
      feedbackPerMinute: 10,
      votesPerMinute: 30,
      commentsPerMinute: 20
    }
  }
}
Database Query Scoping
All data queries include project filtering at the database level:
// Feature requests are always project-scoped
const requests = await db
  .query("featureRequests")
  .withIndex("byProjectId", q => q.eq("projectId", projectId))
  .collect();

// Votes include project scope
const votes = await db
  .query("votes")
  .withIndex("byProjectAndEmail", q =>
    q.eq("projectId", projectId)
  )
  .collect();

// Comments filtered by project
const comments = await db
  .query("comments")
  .withIndex("byProject", q => q.eq("projectId", projectId))
  .collect();
This ensures that even if application code had a bug, the database index structure prevents cross-project data access.
Key Takeaways
- True isolation requires multiple layers: API key binding, JWT verification, and database scoping work together
- Public Keys are project-bound: They cannot access data from other projects
- Secret Keys never leave your server: Use them only for backend JWT generation
- Origin restrictions prevent widget hijacking: Always configure allowed domains
- Each project is independently configurable: Branding, settings, and keys are project-specific
- Monitor security events: Watch for cross-tenant access attempts
- Rotate credentials regularly: Schedule key rotation every 90 days
Implementation Checklist
- Create separate projects for each product/client
- Generate project-specific Public and Secret Keys
- Configure origin restrictions for each Public Key
- Set up environment variables per deployment environment
- Enable Tier 2 JWT authentication for sensitive projects
- Configure project-specific branding and settings
- Set up security event monitoring
- Document key rotation schedule
- Test cross-project isolation (should fail)
Multi-project feedback management is essential for agencies and enterprise teams. With proper isolation, you can confidently manage feedback across unlimited products while maintaining strict data separation.
Related Articles
Feedback-Driven A/B Testing: Qualitative Meets Quantitative
Combine user feedback with A/B test metrics to understand not just what wins, but why. Make better decisions with complete experiment context.
Feedback for Developer Tools: Unique Challenges of Collecting from Technical Users
Developers hate surveys but love fixing problems. Learn how to collect actionable feedback from technical users through GitHub issues, API logs, and community channels.
Feedback During Incidents: Turning Downtime and Outages into Improvement Opportunities
How to collect and use feedback during service disruptions. Balance communication, gather impact data, and emerge with stronger customer relationships and clearer priorities.
Written by UserVibesOS Team
Published on January 9, 2026